

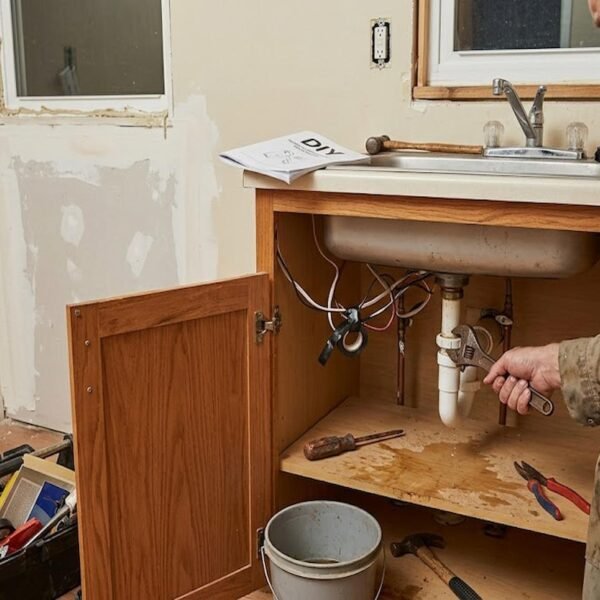
Home repairs can save money, improve comfort, and help you take better care of your property. Yet many DIY projects go wrong for one simple reason: poor preparation. Most mistakes aren’t caused by a lack of effort—they happen because people rush the job, use the wrong materials, skip important steps, or overlook safety.
The good news is that these problems are easy to avoid with the right approach. By understanding the most common home repair mistakes before you begin, you can complete projects more efficiently, achieve better-looking results, and avoid costly repairs later.
Whether you’re fixing drywall, repairing a leaking tap, painting a room, or installing new hardware, these practical tips will help you work with greater confidence.
Why Small Mistakes Can Become Big Problems
A repair may look finished on the surface, but hidden mistakes often lead to bigger issues over time. Loose fittings can fail, poor sealing can allow moisture inside, and incorrect materials may wear out much sooner than expected.
Taking a little extra time during planning and preparation usually saves far more time—and money—than rushing to finish.
1. Skipping the Planning Stage
Many DIY repairs begin with enthusiasm but little planning. It’s tempting to grab a few tools and start immediately, but this often leads to delays and mistakes.
Before beginning any repair:
- Understand the cause of the problem.
- Read the installation or repair instructions.
- Gather every tool and material you’ll need.
- Estimate how long the project will take.
- Check whether replacement parts are compatible.
Good planning reduces frustration and helps the repair go smoothly from start to finish.
2. Using the Wrong Materials
Not all repair products are interchangeable.
Choosing the wrong adhesive, filler, paint, screws, or sealant can shorten the life of the repair or even damage the surrounding materials.
Examples include:
- Indoor caulk used outdoors
- Wood filler applied to large structural damage
- Incorrect paint for bathrooms or kitchens
- Screws that are too short for shelving
- Using drywall anchors that can’t support the intended weight
Always choose products designed for the specific material and environment.
3. Taking Incorrect Measurements
One of the most common DIY mistakes is inaccurate measuring.
Even a small measuring error can create gaps, uneven installations, or wasted materials.
To improve accuracy:
- Measure twice before cutting.
- Use a quality tape measure.
- Mark cut lines clearly.
- Double-check width, height, and depth.
- Consider expansion gaps where necessary.
Accurate measurements lead to cleaner finishes and fewer expensive mistakes.
4. Ignoring Surface Preparation
Surface preparation is one of the most overlooked parts of home repair.
Paint, adhesives, fillers, and sealants all perform better on clean, dry, and stable surfaces.
Before repairing:
- Remove dust and debris.
- Clean away grease and dirt.
- Scrape loose paint.
- Sand rough surfaces.
- Allow damp areas to dry completely.
Skipping preparation often causes repairs to fail much sooner than expected.
5. Choosing the Wrong Fasteners
Fasteners matter more than many homeowners realise.
Using the wrong nails, screws, or anchors may result in loose fittings or structural failure.
Always match fasteners to:
- Wall type
- Material thickness
- Weight being supported
- Indoor or outdoor use
Heavy shelves, televisions, cabinets, and mirrors require anchors suitable for the wall material rather than relying only on drywall.
6. Rushing Through Finishing Work
Many people slow down during preparation but rush through the final steps because they simply want the project finished.
Unfortunately, finishing work often determines how professional the repair looks.
Take time to:
- Smooth filler properly.
- Sand between coats.
- Apply even paint coverage.
- Remove masking tape carefully.
- Clean excess sealant before it cures.
Patience during finishing creates cleaner, longer-lasting results.
7. Using Too Much or Too Little Sealant
Sealants help prevent moisture, drafts, and movement, but applying the wrong amount creates problems.
Too much sealant:
- Looks messy
- Takes longer to cure
- Attracts dirt
Too little sealant:
- Leaves gaps
- Allows water penetration
- Reduces durability
Apply a consistent bead and smooth it immediately using the recommended finishing tool or method.
8. Ignoring Manufacturer Instructions
Instruction manuals are often overlooked, especially for products that seem straightforward.
However, manufacturers include important information about:
- Drying times
- Installation order
- Temperature requirements
- Load limits
- Compatible materials
Following these recommendations helps ensure products perform as intended.
9. Using Dull or Poor-Quality Tools
Even experienced DIY enthusiasts struggle when using worn or unsuitable tools.
Sharp, well-maintained tools improve:
- Accuracy
- Safety
- Speed
- Finish quality
Basic tool maintenance includes cleaning after use, sharpening blades, replacing damaged components, and storing tools in a dry location.
10. Forgetting Safety Precautions
Safety should always come before speed.
Many common injuries happen during simple home repairs because people skip protective equipment or ignore safe working practices.
Essential safety habits include:
- Wear safety glasses.
- Use gloves when appropriate.
- Keep work areas tidy.
- Secure ladders correctly.
- Switch off electricity before electrical repairs.
- Use hearing protection with power tools.
- Wear a dust mask when sanding or cutting.
No repair is worth risking injury.
11. Attempting Repairs Beyond Your Skill Level
DIY is rewarding, but not every repair should be done without professional experience.
Some jobs involve significant safety risks or specialised knowledge.
Consider hiring a professional for:
- Major electrical work
- Gas appliances
- Structural alterations
- Extensive roof repairs
- Large plumbing replacements
- Foundation issues
Knowing your limits is part of responsible home maintenance.
12. Not Allowing Enough Drying or Curing Time
Paint, adhesives, grout, filler, and sealants all require time to cure properly.
Using the repaired area too soon can weaken the repair or ruin the finish.
Always follow recommended curing times, even if the surface feels dry to the touch.
Patience often determines whether a repair lasts months or many years.
13. Overlooking the Root Cause
Sometimes the visible damage isn’t the real problem.
For example:
- Peeling paint may indicate moisture.
- Cracked drywall may result from structural movement.
- Loose flooring could signal subfloor damage.
- Water stains may come from roof leaks rather than plumbing.
Repairing only the symptom usually means the issue returns.
Take time to identify and fix the underlying cause whenever possible.
Tips for Better DIY Repairs Every Time
Following a few simple habits dramatically improves repair quality.
Best practices include:
- Plan every project before starting.
- Measure carefully.
- Buy quality materials.
- Use the correct tools.
- Prepare surfaces thoroughly.
- Work patiently.
- Follow instructions closely.
- Prioritise safety.
- Know when professional help is needed.
- Inspect your finished work before cleaning up.
These habits quickly become second nature and make future repairs much easier.
Frequently Asked Questions
What is the biggest mistake people make during home repairs?
Poor preparation is one of the biggest mistakes. Skipping planning, surface cleaning, or accurate measurements often leads to repairs that fail prematurely.
Why is surface preparation so important?
Clean, dry, and properly prepared surfaces help paint, adhesives, fillers, and sealants bond correctly. This improves both durability and appearance.
Can using the wrong screws really cause problems?
Yes. Incorrect screws or wall anchors may loosen over time or fail under weight, potentially damaging walls or creating safety hazards.
How do I know when to call a professional?
If a repair involves electrical systems, gas lines, structural components, roofing at height, or extensive plumbing work, professional assistance is usually the safest choice.
Conclusion
Successful home repairs are rarely about luck or advanced DIY skills. They come from careful planning, proper preparation, quality materials, and a willingness to work patiently. Avoiding common mistakes such as inaccurate measurements, poor surface preparation, incorrect fasteners, and rushed finishing work helps create repairs that look better and last longer.
Remember that every project is an opportunity to build confidence and experience. Start with manageable tasks, follow proven techniques, and never compromise on safety. By taking the time to do the job properly, you’ll save money, protect your home, and enjoy more reliable results for years to come.
Leave a Comment
You must be logged in to post a comment.